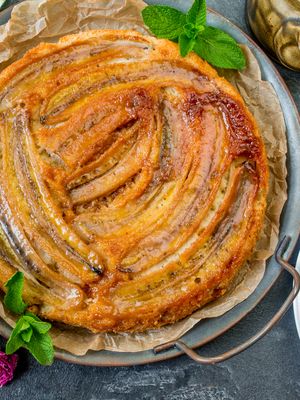
 Of all the types of dough, yeast dough can confidently be called the most popular. It is used for buns, rolls, pies, bread, doughnuts, pizza and many other things.
Let’s leave the discussion of all types of yeast dough, the basic principles of working with it, and the explanation of what happens to the ingredients during kneading and proofing for another basic article. Today I will give you a quick guide on how to knead and shape most types of yeast dough baked goods. And how to get a million thanks from satisfied tasters of your rolls or pies.
1. Recalculate the yeast correctly.
Fresh and dry yeast are interchangeable in recipes. Fresh yeast and dry instant yeast are substituted at a ratio of 3 to 1. That is, if the recipe calls for 15 grams of fresh yeast, substitute 5 grams of instant yeast, and vice versa. If you use dry active yeast, the ratio is 2.5 to 1, and instead of 15 grams of fresh yeast, you should use 6 grams of active yeast.
2. Use room temperature ingredients.
Cold ingredients will automatically increase the proofing time. Therefore, eggs, milk and other ingredients that are usually kept in the refrigerator should be taken out an hour before kneading the dough.
 3. Do not overheat the liquid.
If the recipe calls for heating the liquid (milk or water) for the dough, it is important not to overheat it. At temperatures above 45°C (113°F), the yeast starts to die. Such dough will either not rise or will rise poorly. For the same reason, it is important to cool the melted butter if the recipe calls for it.
4. Always sift the flour.
This allows you to get rid of lumps and any foreign objects that may be in the flour – for example, flour often contains threads from flour bags, unground wheat grains, and other inclusions. You’ll also get a smoother dough consistency faster.
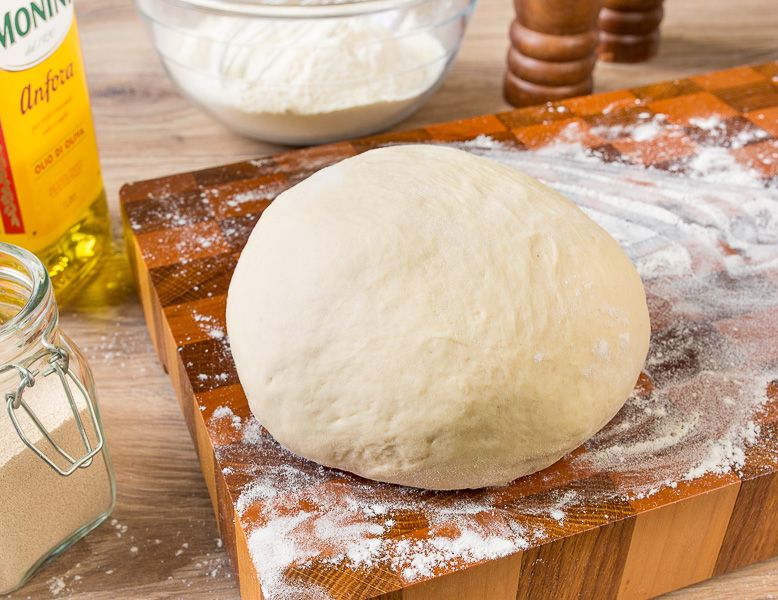
5. Knead the dough thoroughly.
It’s important to knead yeast dough well. It doesn’t matter if you use your hands or a dough hook in a stand mixer. If the dough is kneaded thoroughly, the gluten will develop in the dough and the crumb of the finished baked goods will be more elastic and lighter. Knead the dough for at least 10 minutes. In the end, it should be smooth, without lumps or inclusions. It may still be sticky (this depends on the recipe).
6. Correctly accelerate proofing.
The optimal proofing option for most yeast doughs is room temperature. But if you need to speed up the process (or if the temperature in your kitchen does not reach 20°C (68-70°F), you can place a bowl of dough in a container of hot tap water. Or cover it with a kitchen towel and place it near a hot radiator. Remember the 45°C (113°F) rule from the third point of this guide.
 7. Shape with oil instead of flour.
When shaping yeast dough, it is better to use vegetable oil instead of flour. Grease your hands and work surface with it. Additional flour can make the dough too tough.
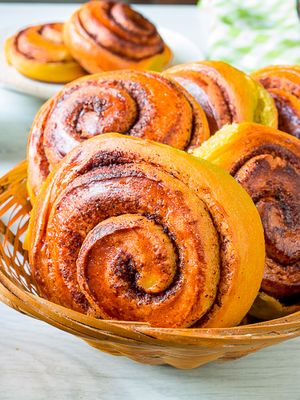
8. Stretching instead of rolling.
Often it is more effective to stretch the dough with your hands instead of rolling it. Like in this recipe. Place the unrolled dough on a work surface, stretch it, gently punching it down, spread the filling, and roll it up. In this way, the dough retains the gas from the work of the yeast during the first rising. In this case, the final proofing will be faster. And the crumb will be lighter.
9. Always let the dough proof before baking.
Never neglect to proof shaped pieces before sending them to the oven or deep fryer. If you don’t, the crumb will be too dense and the crust will crack and warp 90% of the time.
And finally, the answer to the most common beginner’s question:
Why won’t my yeast dough rise?
a) Bad yeast (expired, improperly stored, inicially poor quality product),
b) Kitchen is too cold (use the techniques in point 4),
c) Yeast was killed by too hot milk or water (see point 3).